Setting Up Nginx on Ubuntu AWS EC2: A Step-by-Step Guide
HNG Internship Stage 0
Hey Viewer, I'm Kyle Robins, Devops / Full-stack Engineer based in Nairobi Kenya. Am passionate about Web development & Content Creation.
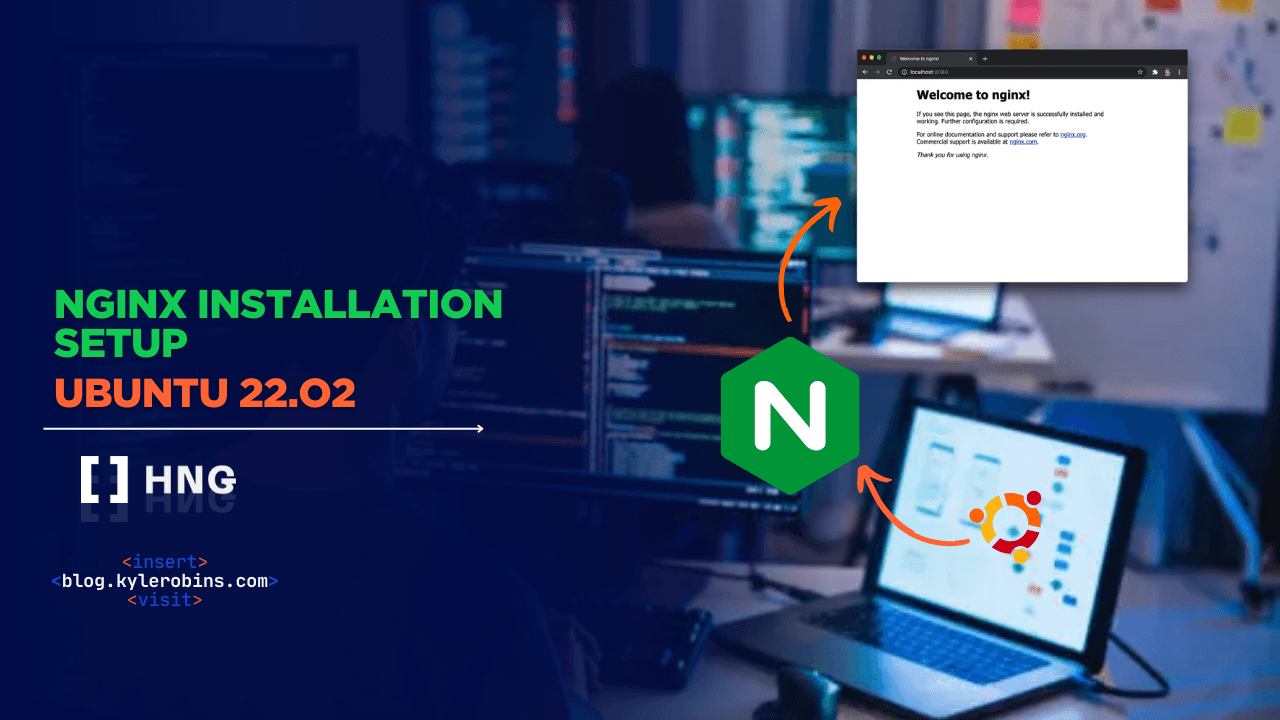
As a DevOps engineer, setting up web servers is a common task. In this guide, I'll walk you through the process of installing and configuring Nginx on an Ubuntu EC2 instance. I'll be using Termius as my terminal client for SSH connections, which provides a clean and user-friendly interface for managing server connections.
Prerequisites
An AWS account with an EC2 instance running Ubuntu 22.04 LTS
SSH access to your instance
Basic knowledge of Linux commands
Termius installed on your machine (iTerm2 (Mac Os), Putty (Win Os) )
Step 1: Connecting to Your EC2 Instance
I'm using Termius to manage my SSH connections. After launching my EC2 instance (t2.nano in this case),

I added it to Termius using the public IP address (54.239.173.240 in my case) and my SSH credentials. Termius makes it easy to organize and manage multiple server connections with its intuitive interface.

Step 2: Verifying Ubuntu Version
First, let's check our Ubuntu version to ensure we're working with the correct system:
cat /etc/os-release
As shown in the output, we're running Ubuntu 22.04.5 LTS (Jammy Jellyfish), which is perfect for our setup.

Step 3: Installing Nginx
Now, let's update our package lists and install Nginx:
sudo apt update && sudo apt install nginx -y
This command updates the package repository and installs Nginx in one go. The -y flag automatically answers "yes" to the installation prompt.

Step 4: Verifying the Installation
After installation, we can verify Nginx's version and status:
nginx -v
This shows we've installed Nginx version 1.18.0.

To check if Nginx is running properly:
sudo systemctl status nginx
The output shows that Nginx is active and running, with the following details:
Service is loaded and enabled
Active status: running
Process ID and worker processes are properly initialized
Memory usage and CPU time are being tracked

And there you have it! We've successfully installed Nginx on our Ubuntu EC2 instance. The server is now ready to serve web content. In future posts, we'll explore how to configure Nginx for hosting websites and setting up reverse proxies.
This is just my cue for an exiting 8 week Devops Internship at HNG
Step 5: Customizing the Default Page
After confirming Nginx was running properly, customize the default welcome page. To do this, modify the default HTML file:
sudo nano /var/www/html/index.html
I replaced the contents with a custom welcome message:
<h1>Welcome to DevOps Stage 0 – JaneDoe/@janedevops</h1>
Step 6: Configuring Firewall
To ensure our web server is accessible, we need to configure the firewall to allow HTTP traffic:
sudo ufw allow 80
After this, you can access your web server by entering your EC2 instance's public IP address in a web browser. Make sure your EC2 security group also allows inbound traffic on port 80 (HTTP).
Remember to always follow AWS security best practices and keep your system updated for optimal performance and security.